Although we are making progress in rendering shots out and preparing the still shots for the final animation, I am worried about the progress with our character. It needs to be rigged. I had a meeting today and Dan recommended that I follow some tutorials on how to rig.
As I have currently discovered that nobody is available to Rig our character, I shall carry out Dan's suggestion and try to do the rigging myself. I shall see if I can find some rigging tutorials online or use Digital Tutors in order to learn how to do rigging. At first I was reluctant, but if we are going to get anything done, I shall need to bite the bullet and get on with it myself. It will be a challenge and I should embrace this new opportunity to learn something new and venture further from my comfort zone. The saying, you don't know till you try comes to mind. Although I do not wish to become a rigger and the idea of learning to rig is very daunting and I am not looking forward to it, but as I say I must give it a go and press on.To begin with I started by following the beginners rigging tutorial on the digital tutors site. It informed me to firstly separate the sections of geometry that were to be influenced by different bones and joints. Between each section a bone should be placed.

I then started to create the spinal column using the create joint tool. I wast sure if I should introduce a realistic curve to the spine as it is in reality or keep it straight.
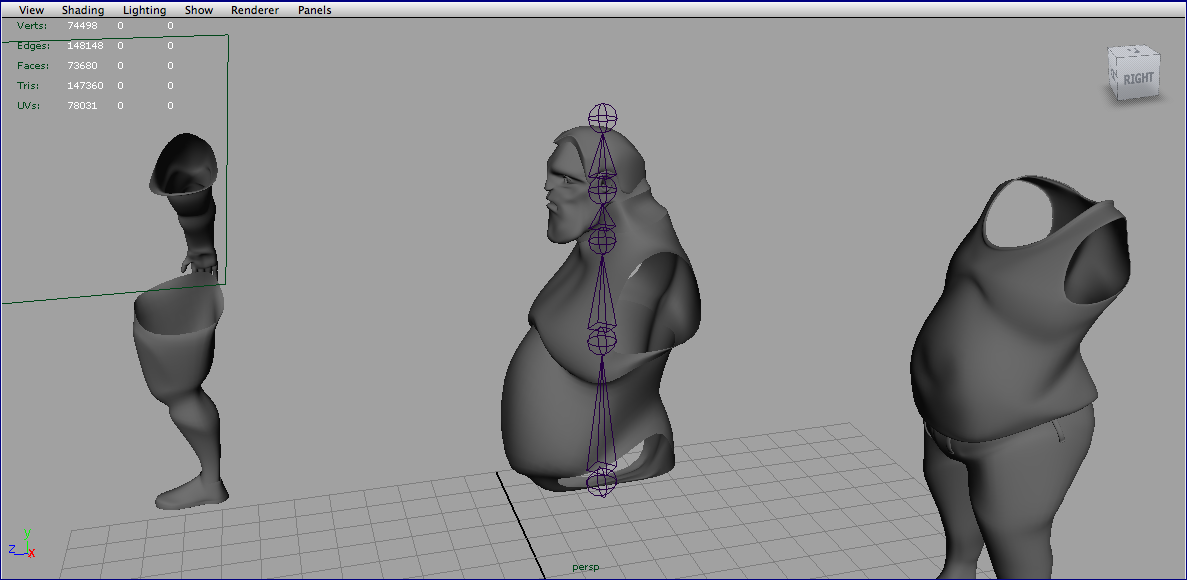
I then started inserting joints into the arm and legs. I think I'm starting to understand hierarchical joints in Maya. So far I am enjoying rigging, at the moment nothing has been overly complicated. For now things seem quite simple.
Eventually I finished inserting the whole skeleton into the character model. I parented the joints with each separated component as I went, making sure that I systematically went up the hierarchy. I then mirrored the joints from the left to the right using the mirror joint tool. I had named each joint accordingly before hand to keep things clean and organised.

I then added an IK RP (rotate plane) handle solver to the arm which I could now more easily animate the arm using the IK handle. Apparently RP IK solvers are more reliable.

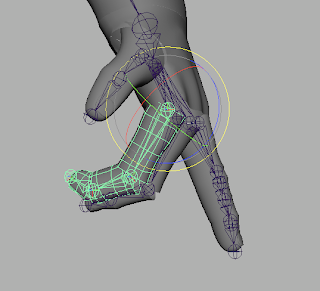
The image below shows the working hierarchy of the joints in the hand. I had to make sure that all the finger joints were subservient and parented to the wrist joint. The same principle was applied to other areas such as from the arms to the shoulders and the legs to the pelvis.
When I initially applied the IK handle on the leg, the leg would then suddenly twist out of position. I was unsure why this was happening, I was sure I had not missed out any operations. Perhaps it was something to do with the orient of the leg. I then assumed it was something to do with the attributes and that I had forgot to rest the tool. I went into the attribute box of the IK handle tool and realized I was using an SC (single chain) IK handle. I then switched back to the RP solver and this solved the issue.

I then added some additional more user friendly handles. I made these handles manually using nurbs shapes and then parenting them with the appropriate joints. This meant that the handles would make the manipulators more user friendly and easier to select and therefore easier to animate.
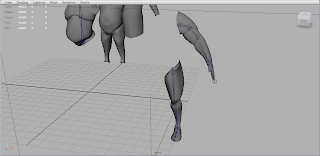
 The image below shows a working IK RP solver handle for the arm. I was very pleased that this was working so well. It has only been two days and I am making steady progress.
I then added some pole vector contstraints for the elbows and the knees to serve as locators which will in theory help prevent nasty twists, tears and deformations in the mesh.

I then created an aim constraint control for the eyes. Initially I tried to use a locator to serve as an eye control. I followed the tutorial but for some reason the connection between the locator handle and the eyes would never work. I tried again and again. I even tried restarting and it didn't solve the problem. I then got in contact with Josh and he said that I should try creating a handle manually. I tried this method and created handles for both the eyes then I parented the individual eye handles to a handle that could manipulate the eyes simultaneously. I had to add an aim constraint to both individual eye controls separately. I had basically used the same method as was shown in the tutorial, however this method of creating a handle manually worked. I still have no idea why the same method would not work on a locator.

The image below shows that the eye constraint is working. Moving the eye handle controls both eyes at the same time so they both look in the same direction.

When it came to painting weights, vertex influences and blend shapes, things became complicated. It became very difficult to understand despite the fact it was a beginners tutorial. It became rather daunting and confusing, I wanted to continue but it felt that there were areas that I had not yet covered which were relevant in order to coherently understand the excersises show in the proceeding rigging tutorials.
No comments:
Post a Comment