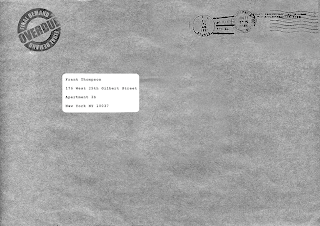
The envelope was a new idea I had which I thought would be a good idea to include as a means to not only some indication of the environment and its layout but also to tell a story. I wanted to hint to the viewer that Frank is in financial difficulty and that he is failing to pay his bills. This will help with character development and explain that he is stuck in this horrendous business and that this is the way he makes a living. This was in my mind a way of adding extra detail to the film.
I am concerned that I have a lot of static camera shots however my argument is that this will save render time and still shots will be easily composited. Having an animated camera not only increases render time but also makes compositing far more difficult. If I am to get this film done these methods will ensure that the film is completed. After all, stories can still be told with still images.
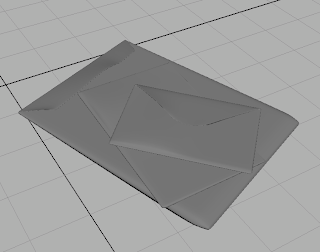
Below is an image showing the envelope models stacked on top of each-other.
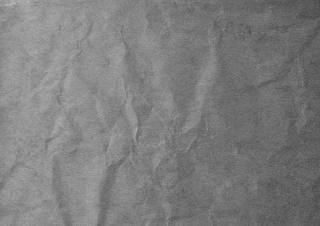
In order to make the envelopes look authentic, I looked at reference on the web and incorporated details and textures so that I create my own.
Medium Envelope Texture

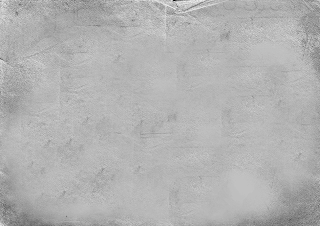
Medium Envelope Bump Map
 Large Envelope Bump Map

Large Envelope Texture
 Large Envelope Bump Map
Small Envelope Texture

Small Envelope Bump Map
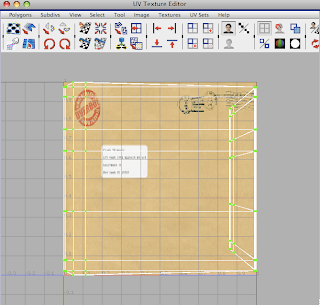
For some reason the textures were not synced correctly with the size of the envelope model despite them being planar mapped. I had to first elongate the textures on the UV texture editor and match them with with the geometry using the viewport. I had to make sure the size matched exactly so that no nasty seams were visible. I also needed to rotate the textures according to the UV's in the scene. What I should have done was to texture these envelopes in a separate scene without having rotating the models so that the axis were at 90 degrees. I had made my life a little more difficult but it was not too much of a problem.
Envelope Planar UV Mapping

Lighting Setup and Camera Placement


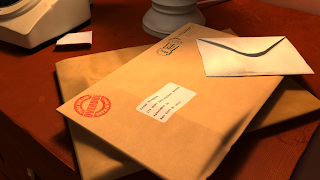
I wanted a close-up so that you could see the writing on the label and more importantly the overdue stamp on the envelope.
Camera view

Occlusion Render Pass
 Final Gather Render Pass
 Final Gather Render Pass
The wood has come out a little too dark and red here so in post I shall alter the hue of the wood itself to make it more orange.

I composited the render using Photoshop and increased both brightness and contrast and tweaked the hue and colour balance of the image to make the render less dark.


I am happy that this idea made the transition to 3D so quickly. It was not too complicated to re create, after all, most of the components were already there. It was just the lighting that took a bit of work. I only used one light but it took a while to get the settings just right. I set the light to linear decay and its intensity to 5.000.
The Additional Storyboard

No comments:
Post a Comment